Strips of my plain and printed papers arranged in lines with different tonal strengths. These were subsequently cut up to form patterns. There are some great designs here that I intend to translate into fabric samples.
11a to 11c - my paper strips with different tonal strengths


11d to 11i- patterns made by cutting up the strips and rearranging them into different designs


Stitched fabric samples based on my paper designs.
(It is good to be working with fabric again after all the paper cutting!!!)
Stage A
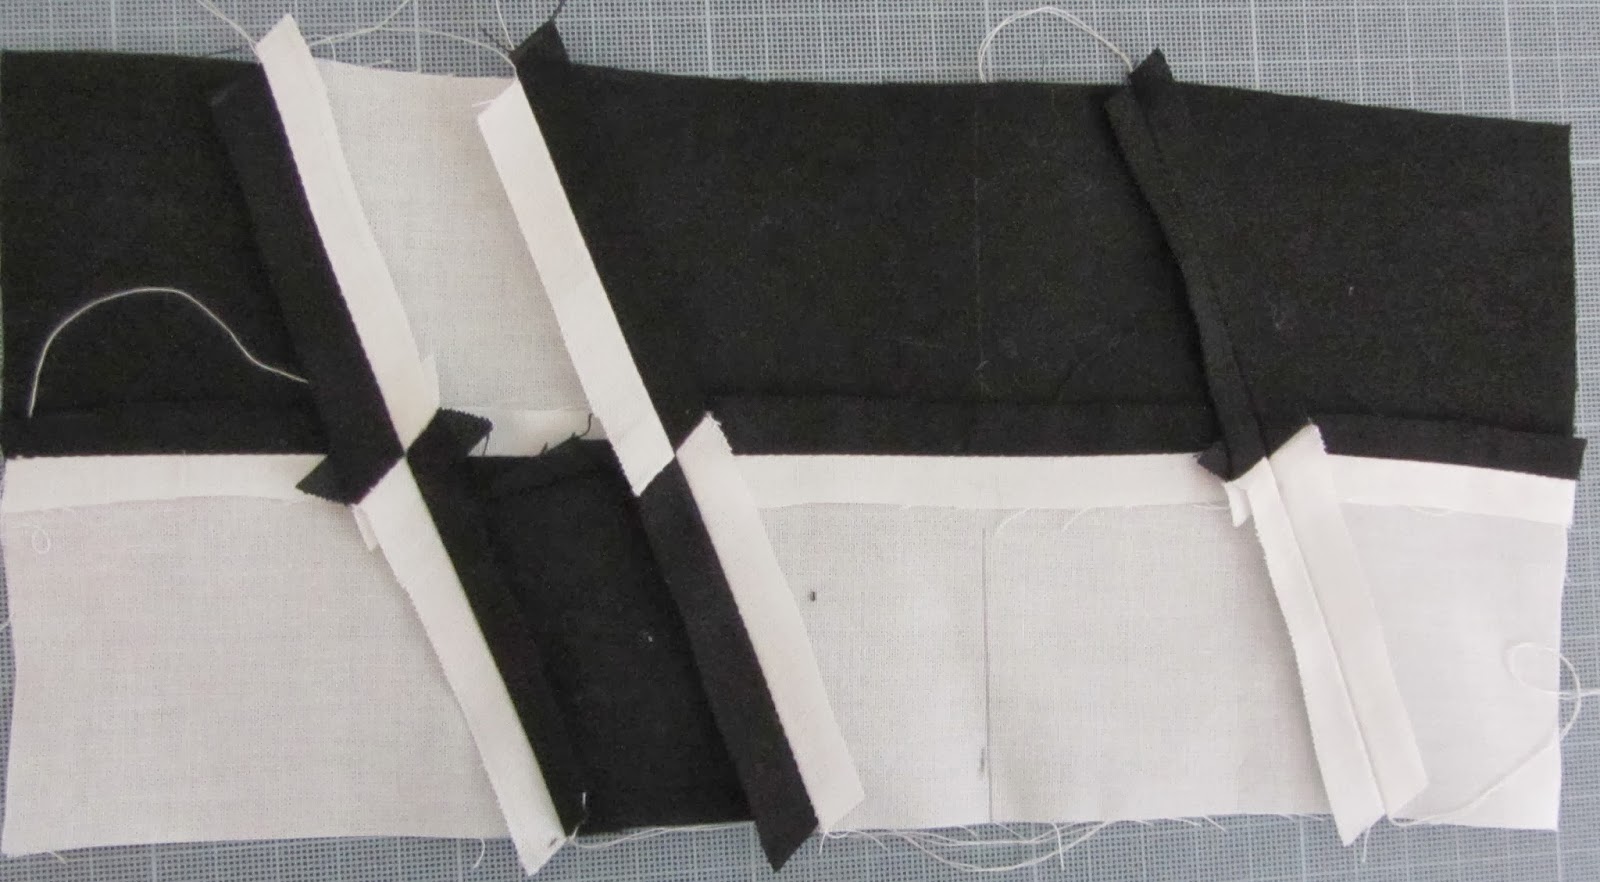
11 j - Strips of my purchased fabrics stitched into lines to make squares with different tonal strengths.

11k- I cut the above squares at an angle and made the this tonal sample

11l- another sample made from the cut squares, this time with some forward facing seams. The front and reverse sides are shown


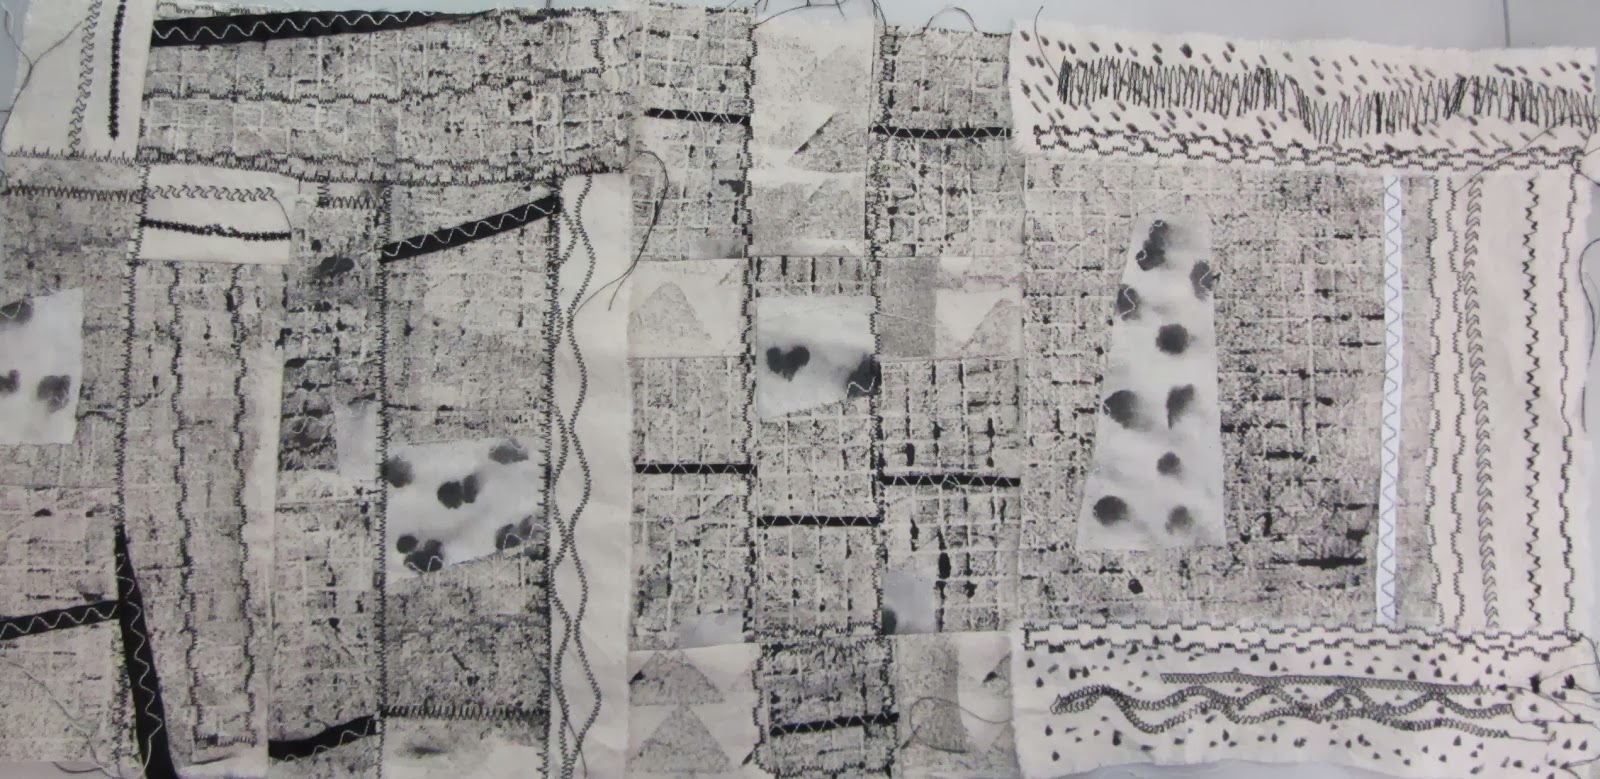
11m- in this sample many lines of machine embroidery were added to one of my printed fabric, the lines of machine embroidery on this sample give it a textured/sculptural feel, almost like smocking

11n- The multiple lines of stitching on this sample emphasize my zebra skin inspired print

11o- In the follow three samples plain and printed fabrics were cut up in different ways, stitched together and decorated with machine embroidery

- diagonal lines of stitching


11p- in this sample more of my animal print fabrics were cut into 'wedge' shapes, stitched together then top stitched to make a sample inspired by animal skins. (I love this sample!)


- final sample

11s- this sample was made from four samples made in the 'seminole' chapter, I added more lines of decorative stitching, ( as suggested in my feedback) before making them into one large sample

11t- the following four images are an experiment. I was attempting to achieve a 'zebra' stripe effect by using curved seams. It proved difficult to get the seams to lie flat, I eventually top stitched the seams. I don't feel this sample is successful. Perhaps reverse applique would have been better to achieve the effect I had in mind? Have you any further suggestions?


11u- my initial sample made from my printed fabrics decorated with stitching and oddments of ribbon and braid

11v- my sample cut into three sections using the Fibonnacci sequence, 34cm - 21cm - 13cm

11w- the following three images show the largest section cut into three sections, restitched and then cut again several times and restitched


11x- the middle section cut and re-stitched several times with additional machine stitch decoration.


11z- the final sample with all three sections stitched together to give one large, decorated fabric sample
Reflections- I loved this Chapter, it was a voyage of discovery. At first I was very reluctant to keep cutting thinking that I might 'spoil' my work, but the transformations produced were fascinating. But I still have one 'hang up', I cannot get to like or appreciate forward facing seams!! The exception is my sample 11q above with the frayed edges against the black background. I have ideas on ways to develop this sample in the next Chapter.